
Aerial photography is on a whole other level when it comes to capturing the world. Whether it’s cliffs lit up by golden hour or rolling fields beneath stormy skies, tapping into natural light with a drone or aircraft can deliver some truly eye-catching shots. In this article, I’m going to break down everything you need to know about making the most of natural light, answer a few popular questions, and share some straightforward tips I use to make my aerial photos really stand out.
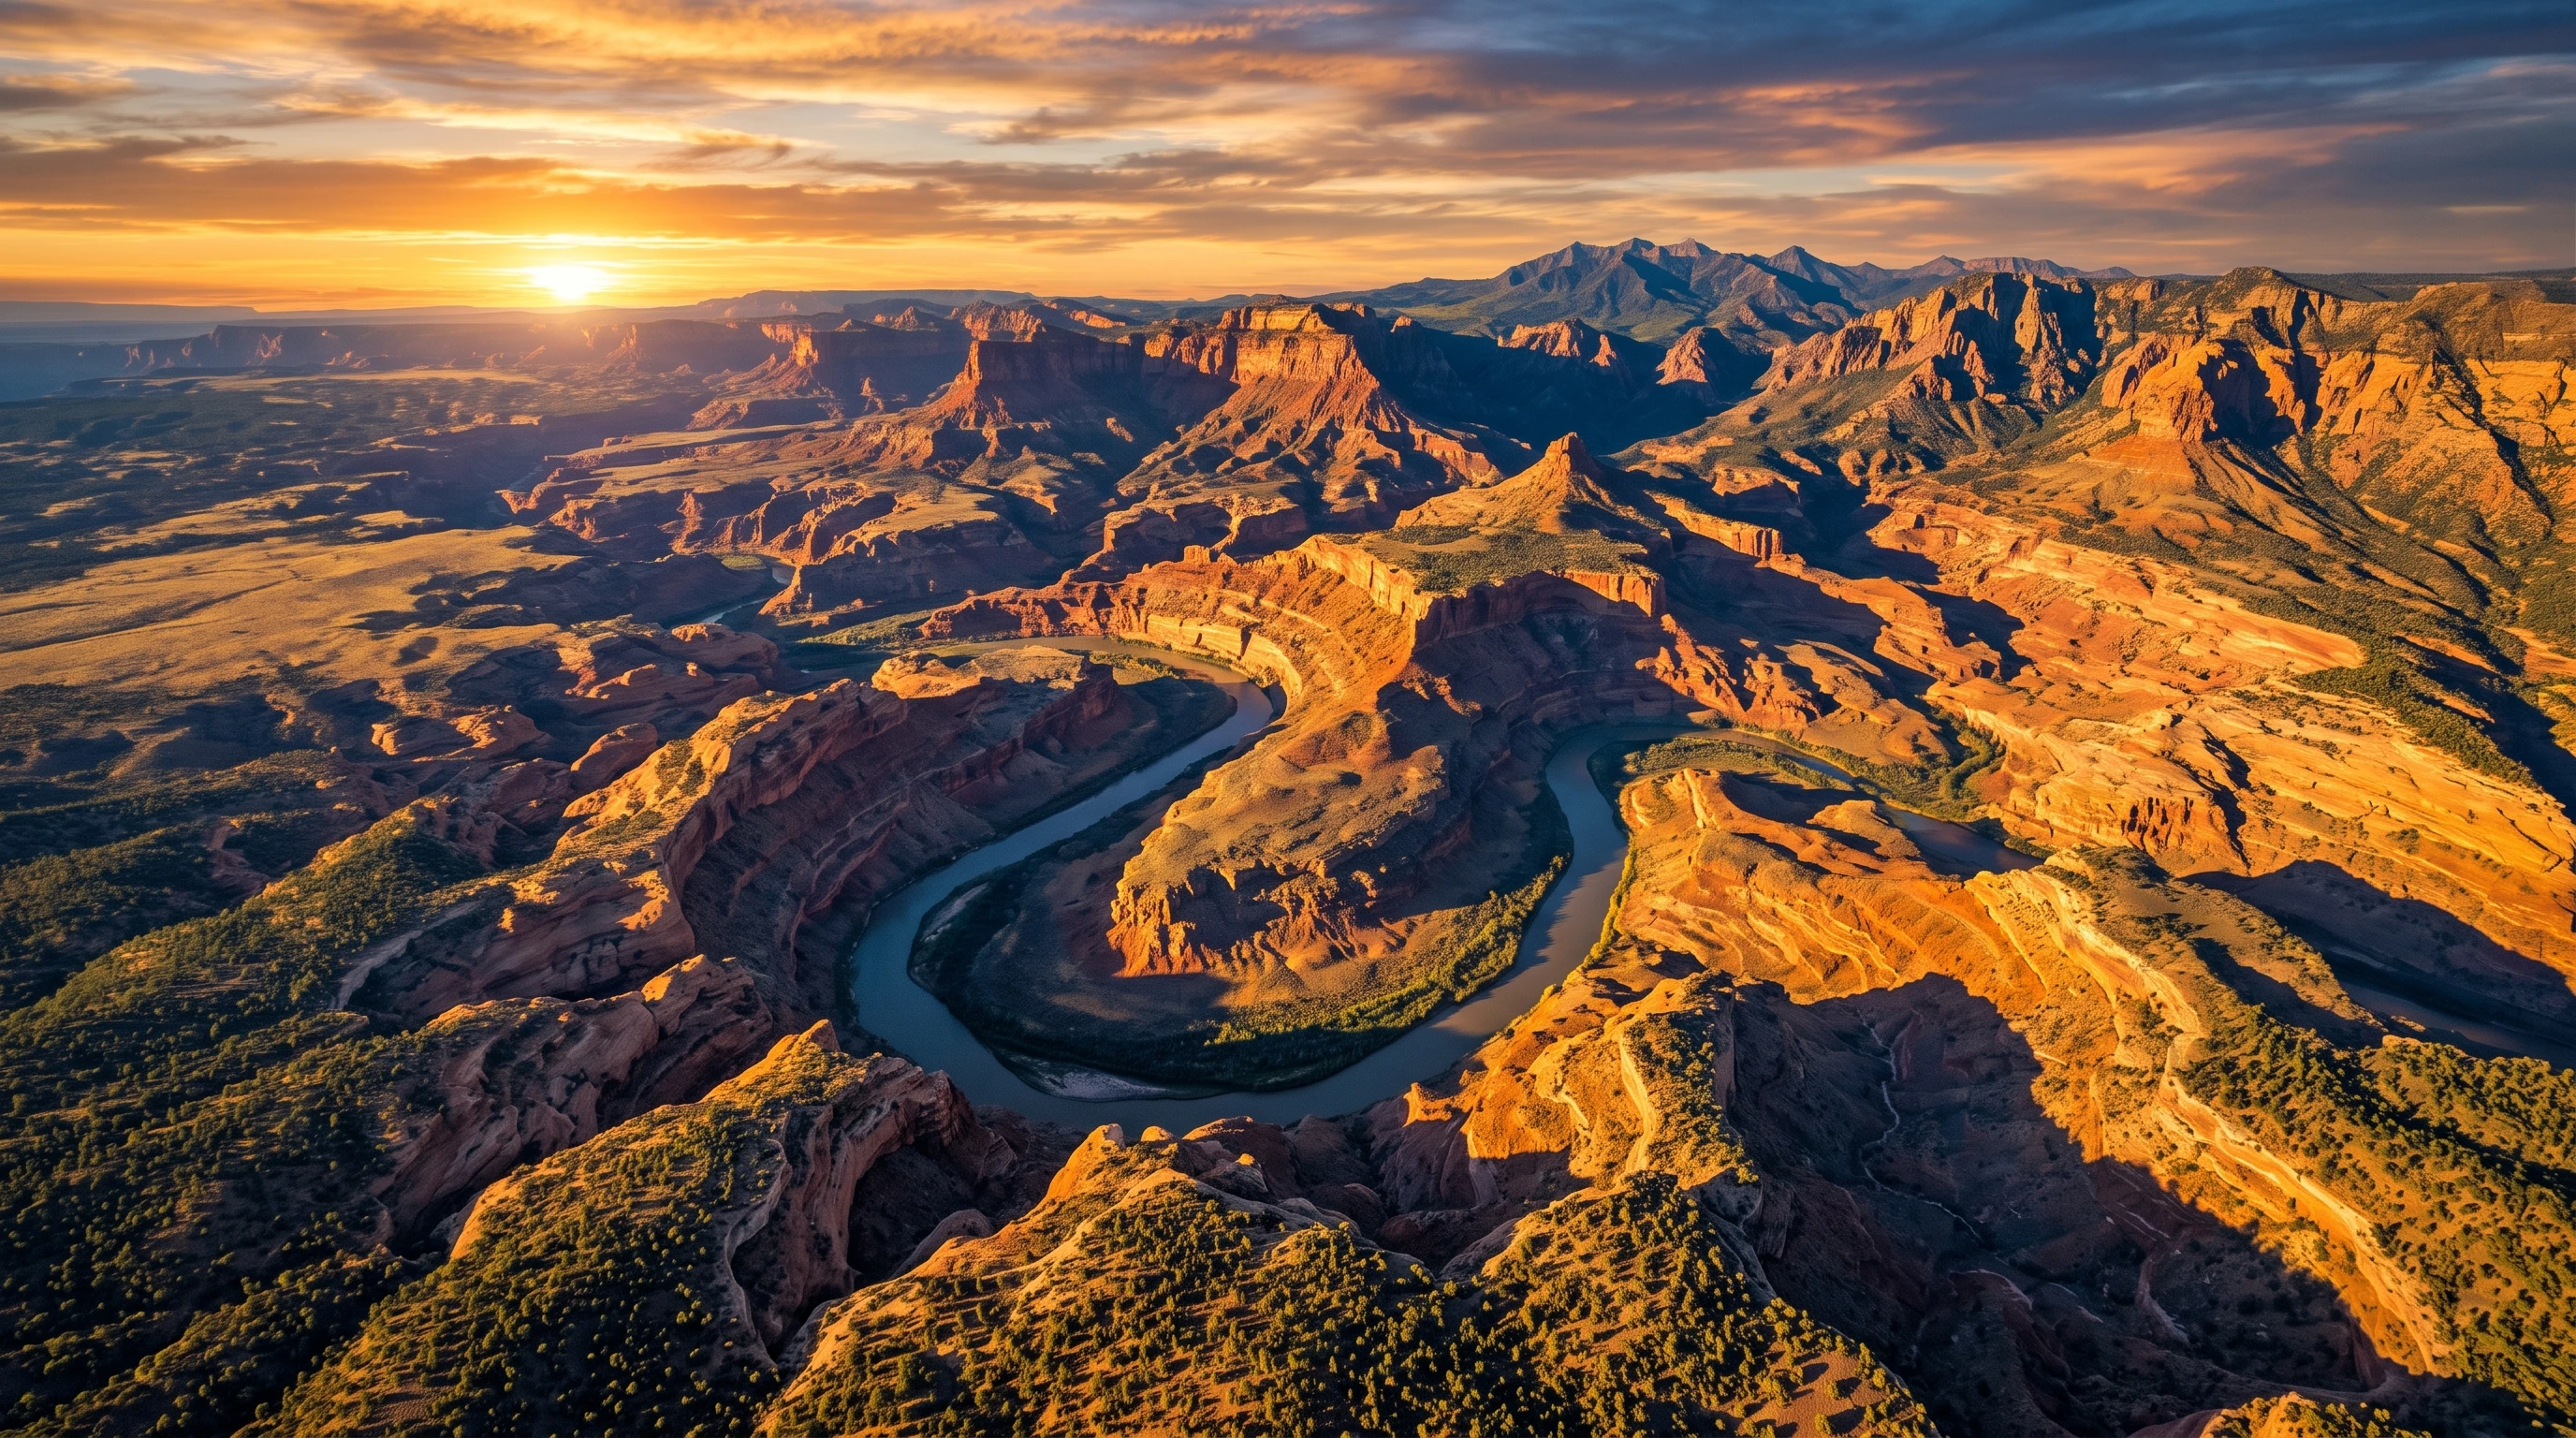
Natural Light Basics for Aerial Photography
When you’re dealing with natural light, it’s all about figuring out what the sun can do for your photos. Sunlight interacts with clouds, land, and water in so many ways, changing the mood and sharpness of your pictures during different times and seasons. Many photographers love the golden hour—the time right after sunrise and just before sunset—because that’s when the light is soft, shadows are longer, and colors take on a warmer glow. Shooting at other times of day introduces different hues and contrasts too, giving each image its own unique vibe.
Shooting with natural light in aerial photography is about embracing what you’ve got. You can’t shift the sun around to suit your needs, but you can predict its movement and measure the quality of light each day. Checking local sunrise and sunset times, paying attention to the weather, and picking your spot on purpose—all these factors add up. The sky works as your huge studio light, and learning how it behaves is a real asset for any aerial photographer. For even better planning, you might want to use sun-tracking apps or weather monitoring tools to get a handle on exact light conditions.
How To Use Natural Light Effectively in Photography
Making the most of natural light is a matter of timing and direction. For aerial shots, here’s what you want to keep in mind:
- Angle of the Sun: Shooting when the sun is low (early morning or late afternoon) makes your photos more dramatic with longer shadows and warmer colors. Midday sun is much harsher and often causes flat, blown-out highlights that kill detail.
- Cloud Cover: Thin clouds act like a softbox, diffusing sunlight, softening shadows, and creating a balanced look. Beware, though—too much cloud cover can make shots look low-energy and washed out.
- Position and Orientation: Moving your drone’s spot or angle changes how the light falls—letting you play with shadow lines or experiment with sun flare. Facing into the light gives you crisp silhouettes, while turning away provides deeper, richer color scenes.
- Polarizer Filters: These little accessories are great for cutting through glare and deepening sky colors, especially above water or when shooting with the sun overhead.
Before taking off, scan your environment. If you see mist, haze, or reflective surfaces, you might just stumble upon a cool natural light effect worth catching. Mapping out your shot sequence ahead of time helps with battery life and improves your chances of scoring that perfect light.
The “20/60/20” Rule in Photography
The 20/60/20 rule is a helpful way to manage your workflow. You put 20% of your effort into planning your location and timing, 60% into observing and making the most of the light while shooting, and the last 20% on editing to polish your image.
In practice, don’t just count on editing to save a bad shot. If you ace your timing and adjust to the actual light on location, your photos will need less work later. In aerial photography, this approach really pays off because changing conditions require quick thinking and flexibility.
What Is the 3-Lighting Rule?
The 3-lighting rule is a classic from studio photography, but it applies outside too. It refers to three lights: key, fill, and back (rim). Outdoors, though, you need to be creative because you don’t have flash units or artificial lights. Here’s how it maps out naturally:
- Key Light: The sun is your key light.
- Fill Light: Reflections from clouds, water, or snow can bounce light into shadows, acting as natural fill.
- Back Light: Light coming from behind your subject (often the sun at a low angle) can add beautiful outlines or make things pop.
When planning aerial photos, think about how the sun lights up the scene—like a mountain, a river, or city rooftops—and what surfaces reflect ambient light. Shooting with the sun at various positions gives a real sense of depth, almost like you’re using three different lights as you would in a studio.
Quick Tips for Getting the Most Out of Natural Light
Here are some tips, pulled from my own fieldwork, that really make a difference when shooting aerials with just the sun:
- Scout Your Location First: Apps like Google Earth give you a bird’s eye view of how light may fall. If you can, visit the spot in person to check when and where the best light hits.
- Be Early or Set Up in Advance: Launch your drone before sunrise or just ahead of sunset to avoid scrambling. That way, when the great light arrives, you’re ready to capture it.
- Track the Weather: Wild conditions—fog, scattered clouds, or quickly shifting skies—can turn a bland photo into something truly memorable. Just remember, with wild weather comes flying risks too.
- Edit for Realism: Use editing tools to tweak colors, contrast, and clarity but don’t go too far. Keep the end result looking authentic and true to the natural scene you witnessed.
Drawbacks of Shooting With Natural Light
Shooting only with natural light brings lots of pluses, but there are a few pitfalls:
- Unpredictable Conditions: Weather can turn on a dime, sometimes spoiling your perfect light. Heavy cloud cover or unexpected rain might throw your plans into chaos.
- Limited Magic Hours: The best light—especially around sunrise and sunset—only lasts for a short window. If you miss it, you’ll be waiting til the next day for a second chance.
- High Contrast: The sun at its peak creates glaring highlights and deep shadows, sometimes making it tough to get a balanced exposure, especially over varied landscapes.
- No Direct Control: Since you can’t move or tone down the sun, you have to adjust your camera settings and get creative with your flight path to make things work.
That’s why seasoned aerial photographers put extra effort into planning and being flexible. Practice, patience, and sometimes a little luck help you deal with everything that nature throws your way.
Common Problems and How To Solve Them
- Overexposed Skies: Use exposure bracketing—take several shots at different exposures then blend them in editing software for balanced highlights and shadows.
- Hazy Shots: Too much haze can kill sharpness. Flying at a lower altitude helps, and so does picking clear days for shooting.
- Battery Drains: Cold, wind, and clouds all make your drone’s battery run down faster. Pack extras and keep tabs on your charge, especially in rough weather.
- Sun Flare: Flare can add mood, or it can ruin your shot. Try shooting at a slight angle to the sun, or use a dedicated lens hood to cut down on unwanted flares.
Experience: A Day Using Only Natural Light
One morning, I rolled out of bed at 4:30 am to shoot fog quietly slipping through a valley at sunrise. I spent almost half an hour prepping, catching the magical moment when sunrise painted the landscape in gold and pink hues. As my drone soared higher, I watched clouds drift over treetops. That honest combo of planning, patience, and pure luck with weather delivered a scene no editing trick can copy—the raw beauty only nature offers.
Practical Uses and Cool Ideas for Aerial Natural Light Photography
- Landscape and Nature Photography: Use golden light to really bring out shapes in forests and fields or make lakes shine in late afternoon sun.
- Cityscapes and Architecture: Early and late sun creates dramatic building shadows and colorful window reflections—especially striking after a rain.
- Sports and Events: Morning light helps action shots pop, with clean detail and soft color that shows off movement in a fresh, natural way.
You can also use shadows creatively to highlight patterns, or play with light reflecting off unusual surfaces for something unexpected. Some aerial photographers even shoot after dark, catching city lights and moonlit landscapes for totally different effects.
Frequently Asked Questions
How can I use natural light effectively in photography?
Plan your shots around the best sun—usually sunrise or sunset—leverage cloud cover when it helps, and pay attention to how shadows and highlights shift. Playing with these elements makes simple scenes look next-level cool.
What is the “20/60/20 rule” in photography?
The 20/60/20 rule says you should spend 20% of your effort planning, 60% reacting and making smart choices as you shoot, and 20% refining your work in post. It encourages you to focus on strong in-camera results over relying totally on editing.
What is the 3-lighting rule?
This rule calls for a key, fill, and back light. In aerial photography, the sun acts as your key light, reflections act as your fill, and back light from the sun’s placement adds dimensional pop to your images.
What are the disadvantages of natural light?
Natural light is unpredictable, offers only brief periods of the best illumination, and sometimes produces tricky contrasts. Getting your timing and exposure right matters a lot to keep shots looking their best.
Wrapping up, working with natural light in aerial photography means accepting a few challenges, but the results can be unforgettable. By planning ahead, watching the sky, and adjusting quickly, you’ll catch some eye-catching images that make all the effort worthwhile.
Thank you very much for taking your time to read my article about drones. Please leave any questions and comments below and iCan you please search my affiliate links so that you may purchase a drone that you love