
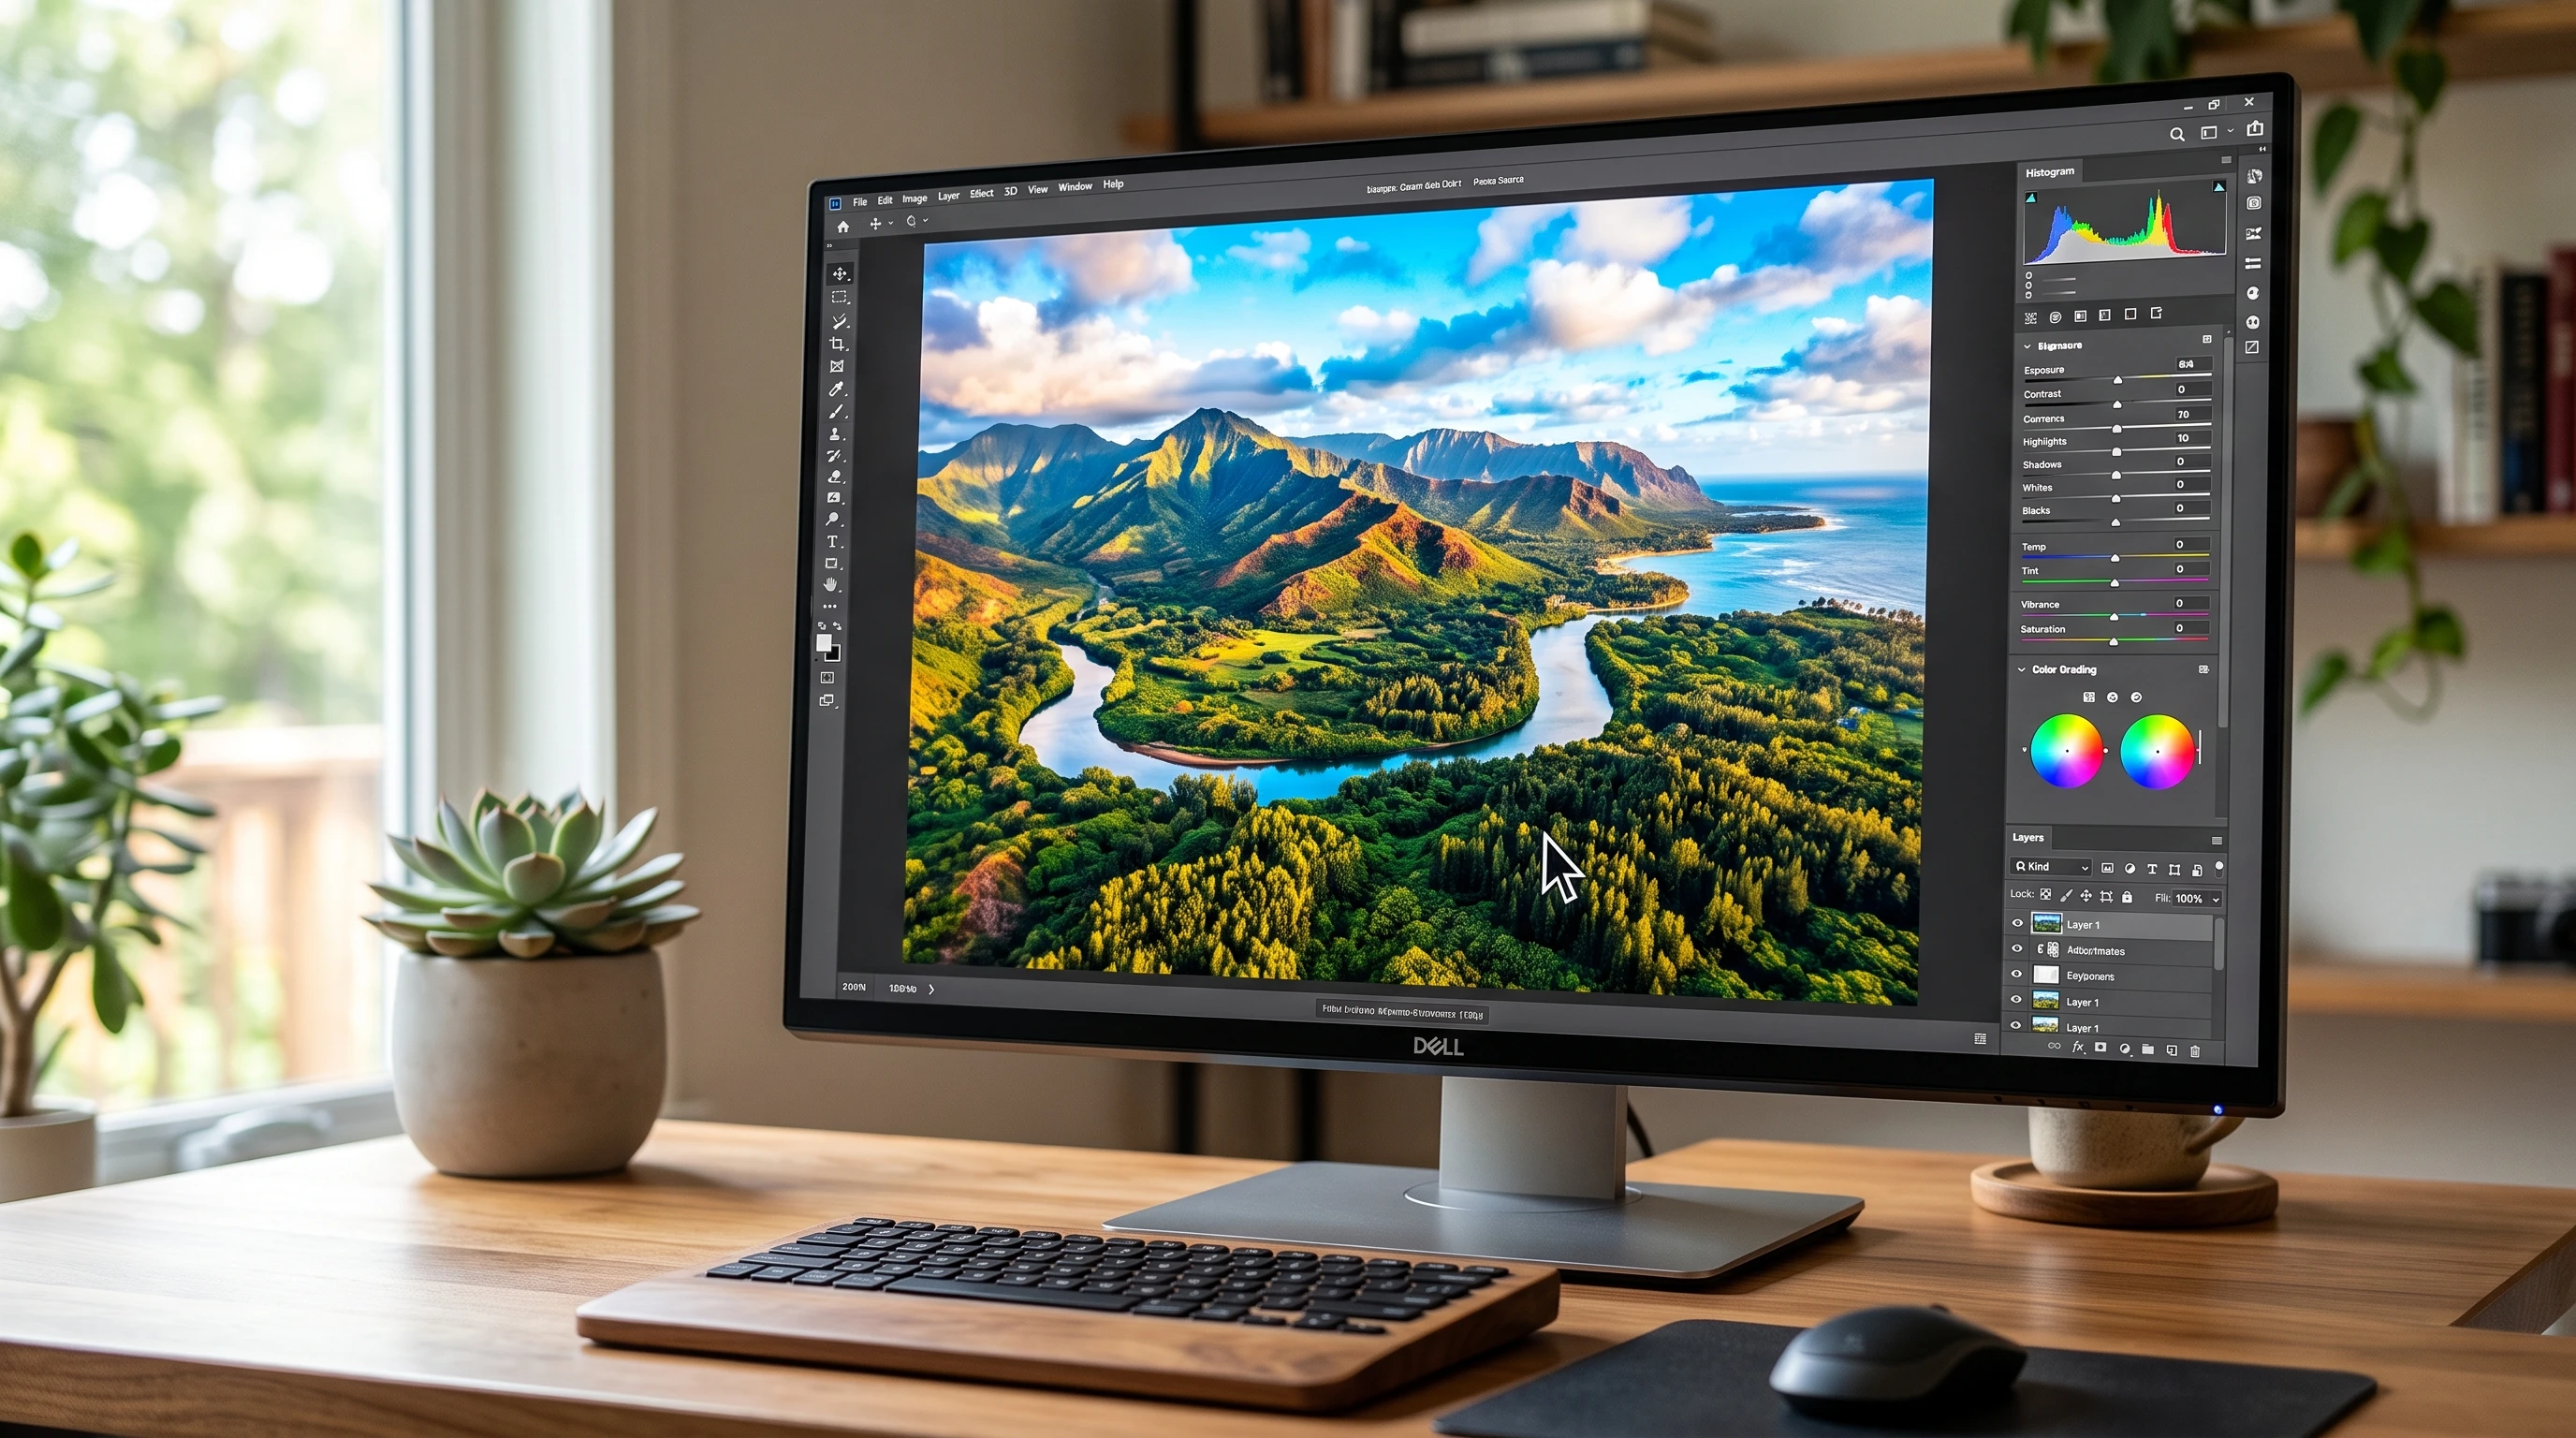
Editing drone photos brings out all those cool details and colors you spot from the sky, giving your shots more pop and personality. Getting an eye-catching aerial photo doesn’t stop after landing your drone. The right post-processing steps will help you get gallery-worthy snapshots instead of just regular overhead views. These tips will help you polish your drone photography edits, even if you’re just getting started.
Why Editing Drone Photos Makes Such a Difference
Raw drone images usually look a bit flat compared to the vivid landscapes you imagined. That’s because cameras, especially tiny ones strapped to drones, capture more data than what you see on the first preview. Editing unlocks hidden details, corrects exposure, boosts color, and brings out dramatic contrasts. This is where your creativity really shows, whether you shoot city skylines at sunset, mountain ranges shrouded in mist, or sparkling beaches.
Drone editing isn’t only for dramatic effect. Sometimes you need to fix lens distortion, crop awkward rotors or shadows, or reduce haze from midday flights. Tweaking your shots also gets them print-ready or helps them shine on social media. Even just a few quick tweaks turn a drone photograph into something people will remember.
Getting Started: Setting Up for Smarter Edits
Before loading your drone shots into your favorite editing app, there are a few ways to set yourself up for smoother, higher-quality edits:
- Shoot RAW if possible: Most modern drones, even entrylevel ones, offer RAW photo capture. RAW files keep all the tonal details, making it easier to recover highlights and shadows in editing.
- Keep your lens clean: A smudgy lens can be hard to fix in editing. Check before and after flights for any dust or fingerprints, as these little things can really impact your shots.
- Bracket exposures for challenging scenes: If your drone supports exposure bracketing (AEB), use it when shooting scenes with a lot of contrast (like sunsets). This lets you blend the best areas from different shots for richer detail.
These habits will save you time and frustration while giving you a stronger starting point for edits. Also, try to shoot during the golden hour or times of softer light, when possible, for better initial results that make editing easier.
Quick Guide: Core Steps for Editing Drone Photos
Editing drone photos isn’t wildly different from editing traditional photos, but the aerial perspective can benefit from a few extra tweaks. Here’s a basic workflow to get you started:
- Crop and straighten: Drone horizons tend to tilt. Straighten and crop out the unnecessary zones for a cleaner composition. Cropping can also help focus attention on interesting lines or patterns from above.
- Adjust exposure: Tweak brightness, contrast, and highlights so sky and land both look balanced, not washed out or too dark.
- Fix white balance: Drone cameras sometimes get colors wrong, especially under strong sun or clouds. Adjust temperature and tint to make whites look truly white and tones look natural.
- Boost clarity and detail: Bring out hidden textures in roads, fields, or water by slowly increasing clarity and sharpness. This makes the unique aerial details pop.
- Clean up distractions: Clone out drone shadows or propellers, and remove any surprise objects that break the image flow. Little touches make a big impact on the final look.
This core workflow helps you quickly turn a drone photo into an image that really stands out on feeds and prints.
Things that Make Drone Photo Editing Unique
While a lot of photo-editing rules do apply, drone images often benefit from a few extra steps because of their unique angle and the technical quirks of aerial cameras. Here are some extra considerations:
- Lens distortion: Wideangle drone lenses can curve horizon lines or buildings. Use the distortion correction tool in apps like Lightroom to straighten these edges and preserve the natural geometry of your shot.
- Haze and atmospheric effects: Drone shots often pick up haze, especially above cities or early mornings. The “dehaze” or “clarity” slider can help cut through, but use gently so the image doesn’t lose its natural mood.
- Shadow and highlight recovery: Overhead lighting creates deep shadows, like trees casting on fields, that you can lighten up in editing. Don’t push it until the shot looks fake, but a touch helps show off those hidden details.
- Saturation management: It’s tempting to pump up blues and greens, but subtle tweaks keep things realistic and prevent “cartoon” colors. This is especially important for sky and water shots.
Learning these common quirks early means you can fix most issues in just a few clicks, without overediting. Try to keep the essence of what you captured while improving the technical side.
Lens Distortion
Most drones use wideangle lenses. This gives that cool broad view, but edges often bend or “bow out,” especially with buildings or a flat horizon. Editing programs like Lightroom and Luminar offer oneclick lens profiles to remove distortion and get your images back to a natural look. If you’re editing in Photoshop, the Transform and Warp tools let you manually fine-tune those straight lines.
Dealing with Haze and Sun Glare
Drone shoots capture a lot of atmosphere, and sometimes too much. Early and late in the day, landscapes turn soft and hazy. While this creates mood, a little “dehaze” or contrast can bring out distant details without losing that dreamy vibe. For sun glare, using the brush tool to selectively tone down overexposed zones works wonders and keeps your highlights controlled.
Shadow and Highlight Control
From above, shadows look dramatic but can hide important details. The “shadows” and “black point” sliders clear up dark corners under trees or buildings, while the “highlights” tool tames blown-out skies. The trick is to balance contrast, getting enough for drama while avoiding unreal results.
Editing Approaches for Different Drone Photography Styles
Different drone shots call for different editing tricks. What boosts cityscapes might not work on nature or abstract shots. Here are some style-specific ideas:
- Urban Aerials: Boost structure and vibrancy for hard edges and colorful buildings. Use gradient filters to add drama to the sky and balance the city lights below.
- Landscapes: Prioritize balancing greens, blues, and earth tones. Try using splittoning for creative sunrise or sunset effects that bring warmth or coolness to particular areas.
- Minimalist Patterns: Pump up clarity and sharpness. Crop aggressively for a bold geometric feel that really brings out shapes in fields, streets, or coastlines.
- Coastal or Water Shots: Gently bump up blues, play with selective clarity on waves, and use a soft vignette for focus. Adjusting the hue and luminance controls for blues and cyans can make water scenes feel more alive.
Matching your editing style to the mood and subject of your photo helps each one feel intentional and unique. Take time to experiment and see what suits your vision.
Advanced Tips and Tricks for Next-Level Drone Edits
Getting comfortable with the basics is a good foundation, but there are a handful of advanced techniques that really take drone photo edits up a notch:
Blend Exposures: If you use bracketing, merge images for a balanced look; this is handy when skies are super bright but land is darker. Many programs automate this with HDR tools for professional looking results.
Use Gradient Filters: A gradient filter darkens (or brightens) part of your shot, like adding drama to a sky without affecting the ground. These filters feel a bit like digital sunglasses and can really guide your viewer’s eyes.
Apply Local Adjustments: Sometimes you don’t want to brighten the entire image, just the shadow in a valley or highlight on a rooftop. Brush tools and radial filters let you zero in anywhere to give each element the right touch.
Stack Images for Panoramas: Drone panoramas capture superwide views. Stitch images together for highres files perfect for big prints or social media banners. Make sure to overlap shots by at least 20 percent for a seamless blend.
Finish with Sharpening and Noise Reduction: Drones sometimes add digital “grain” in low light. A final sweep with sharpening and a touch of noise reduction keeps details crisp and clean, making your images look professional.
Practicing with these editing tricks takes your drone photos from “nice shot” to “how did you get that?” status. Over time, you’ll build confidence and develop your own editing style.
Recommended Editing Tools for Drone Photography
There’s no shortage of photo editors out there, but these are some of the most popular choices among drone photographers:
- Adobe Lightroom: Powerful RAW editing, lens correction, and intuitive sliders make it popular for both beginners and pros.
- Photoshop: Offers advanced healing, compositing, and manual correction tools.
- Luminar Neo: AIdriven features like oneclick sky replacement and simple dehaze sliders add powerful options for creative edits.
- Snapseed: Handy mobile app for fixing photos on the go after quick flights. It’s portable and surprisingly capable for major tweaks.
All these apps have free trials, so you can experiment to find one that fits your workflow best. Don’t be afraid to try a few before settling in, as interface and toolset can feel very different from one app to another.
Frequently Asked Questions
These are some questions I get asked all the time about editing drone photos:
Question: Should I always edit my drone photos or are straight-from-the-drone shots good enough?
Answer: Even a little editing helps bring out details and corrects the camera’s limitations. Cropping and leveling can instantly boost the look, even if you do nothing else.
Question: What’s the best software for a beginner?
Answer: Lightroom is beginnerfriendly and offers everything you need, but Snapseed (for mobile) is a good, free place to start if you shoot casually.
Question: My drone shots look hazy or washed out. Can I fix that?
Answer: Yes! Use the dehaze, clarity, and contrast sliders. If the issue is extreme, a local adjustment or targeted color grade can help bring your shot back to life.
Question: How much should I edit before it looks fake?
Answer: Try to keep colors and contrast realistic; compare with memory or reference shots. If something looks “off,” it probably is. Step away for a minute and return with fresh eyes to see if your tweaks still feel right.
Real-World Examples from Drone Editing Sessions
Edit sessions always teach me something new. I was working on a sunrise beach shot last summer where the RAW file looked completely flat. There was no pop to the sea or sky. By adjusting white balance to correct the cool blue cast, pulling down the highlights for sky detail, and adding a soft gradient over the water, I ended up with a sunrise photo people thought was a postcard. Another time, aggressive use of the “dehaze” tool ruined a cityscape, making it look like a sci-fi movie instead of the early morning I captured. Knowing when to stop editing is a lesson in itself, and sometimes subtlety is your best friend.
Everyone’s workflow is a bit different, so experimenting helps you find your signature look and catches what you care about most in your drone photography. Keep exploring, and don’t be afraid to borrow ideas from others while putting your own personality into each shot. That’s the real secret to making your drone photos stand out.
Thank you very much for reading my article about drones. If you have any questions, please leave them below and I’ll do my best to reply to your comments. Can you also please click on my affiliate links so that you can purchase a drone that you’ll love. Thank you and God bless.